Blogmas #14: Nails of the Week #20 & Glitter Ombre 'How To'
Sunday, December 14, 2014
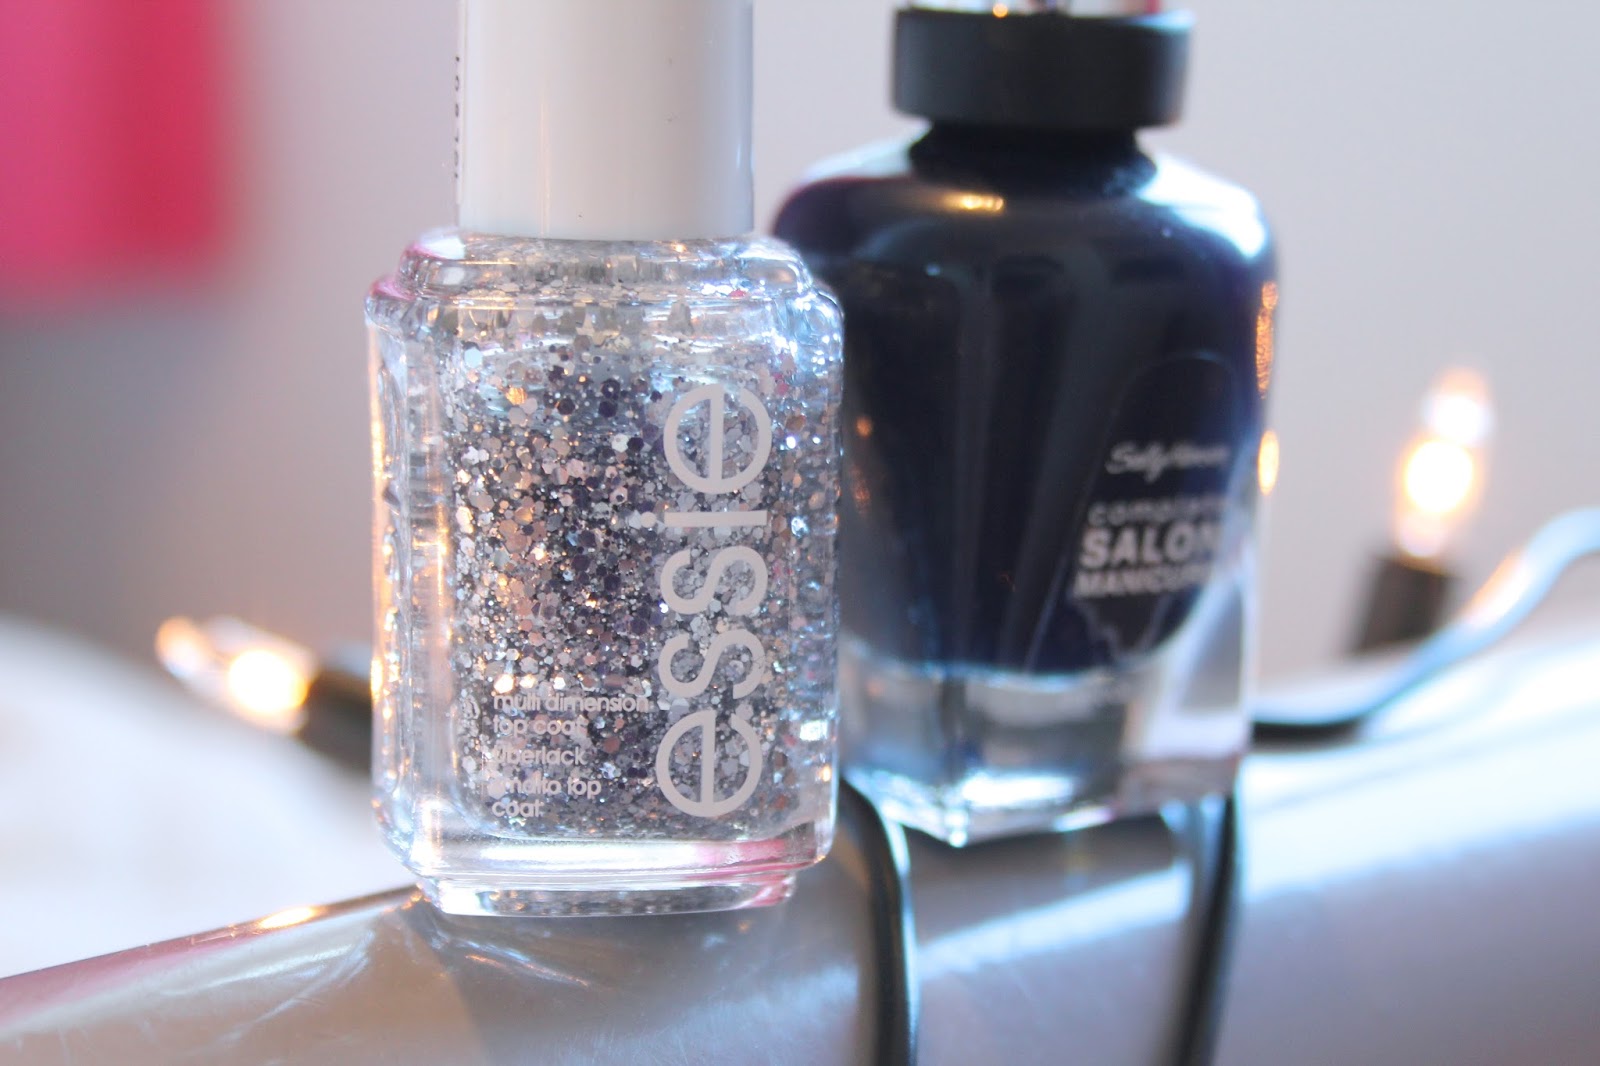
I am massively smitten with this pairing; seriously, I haven't been able to stop looking at them...all week.
With the knowledge of heading to a Birmingham's Frankfurt Christmas Market and having work's Christmas Party both on the same week, I knew I wanted to something a little bit special on the nail front and with a little inspiration from Anna, I decided to go down the whole glitter-ombre route. Because of that, this 'Nails of the Week' post is going to be slightly different as it'll be a mini review but also a "how to" for anyone else that wants to have a go at recreating this pretty look!
How To
- Start off by applying a clear base coat - I use OPI's - to strengthen and protect your nails.
- Once the base coat has dried, apply your first coat of desired colour - I went for a dark blue as I thought it'd contrast nicely with the silver glitter - and leave to dry.
- Add your second coat and allow it to dry. Do this a third time if you feel you need to.
- Once your colour coats have completely dried (and I mean completely, otherwise it'll smudge and ruin the look), get your glitter nail polish. Get rid of the excess glitter by running the brush against the edge of the bottle a couple of times, as you only want a small amount on it. Then apply to three quarters of the nail - I left a gap near my cuticles but you could always do it in reverse - and let it dry.
- Dip the brush back in to the bottle and again, remove some of the glitter but try to leave slightly more on this time. Then apply half way down (and up to the tip) what you've already put on. This needs to dry before moving on to the next step.
- Once dry, dip the brush again and this time, only remove any big droplet that it picks up (you want most glitter on the brush this time) and apply to the tips of your nail. Let this dry once more.
- Then use a strong top coat to make sure it lasts - I use Nail HQ Gel Top Coat. I find that this step is crucial with these glitter polishes, otherwise the little pieces come off very quickly.
- Allow to dry and admire!
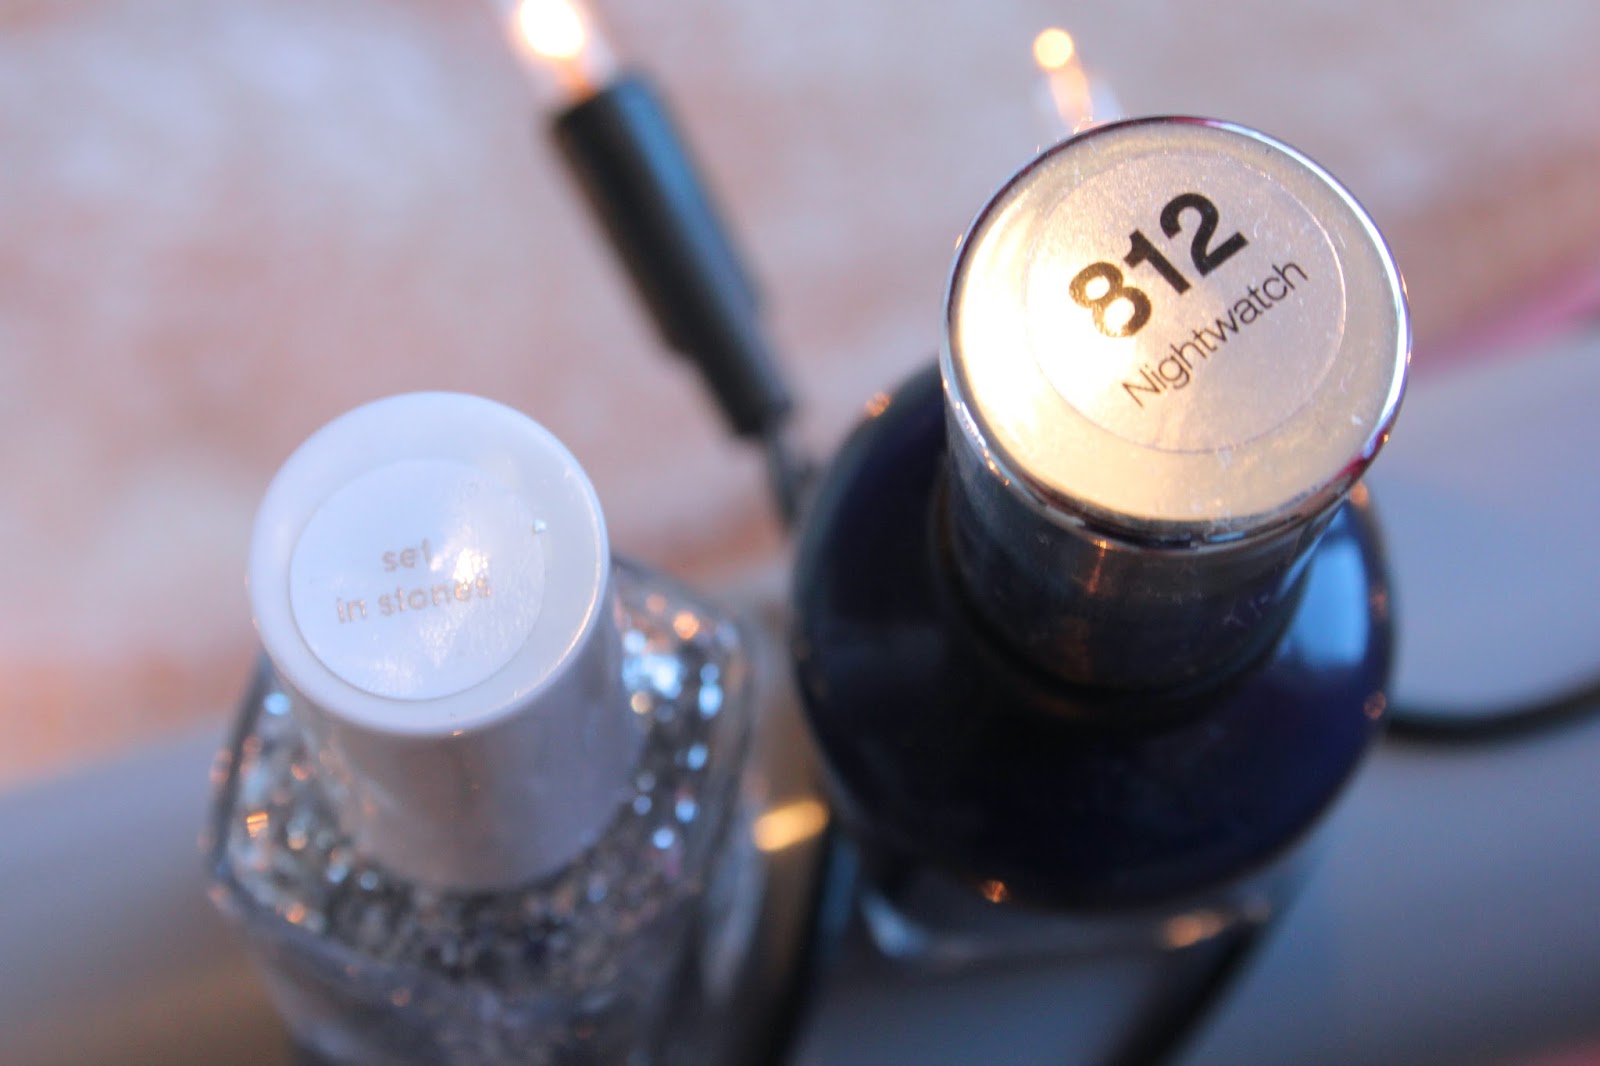
I always like Sally Hansen polishes but this one especially so. The formula is thick and pigmentation is strong meaning it only needed two coats to get the desired colour. I also am a massive fan of the deep navy blue colour that has that 'almost-black' look about it. The Essie Polish was just as nice, full of different size pieces of silver glitter; a go-to option for Christmas that's for sure. I have also seen a gold version which will have to be added to my collection next I think!
It really does look incredibly pretty and glam; the perfect combo for a festive-filled week!
What's on your nails this week?
11 days to go...!


6 comments
I love how this looks!!😻
ReplyDeleteThanks, so did I! :)
DeleteI have never tried any Sally Hansen nail polishes, but this makes me want to!
ReplyDeleteThey're really nice and the navy blue was perfect for the look I was trying to achieve :)
DeleteThese are gorgeous! I love the colour combination! :D xxx
ReplyDeleteThank you Emma! I did love having this combo on my nails :) x
DeleteThank you for your comments!
I enjoy reading each and every one of them!